How to Jump-Start Your Car Safely: A Beginner’s Guide
General
3 weeks ago
When your car experiences a dead battery or other mechanical issues, having reliable parts and accessories on hand is essential. NAPA Auto Parts is a trusted name in the industry, offering high-quality products that keep your vehicle running smoothly.
Whether you’re performing simple maintenance or tackling more complex repairs, NAPA provides top-tier tools, batteries, and components to help you get the job done right. With the right equipment and a little know-how, jump-starting your car is a simple process if you follow the right steps.
What You’ll Need
Before starting, gather the necessary tools:
- Jumper cables
- A second vehicle with a charged battery
- Safety gloves (optional but recommended)
- Protective eyewear (optional)
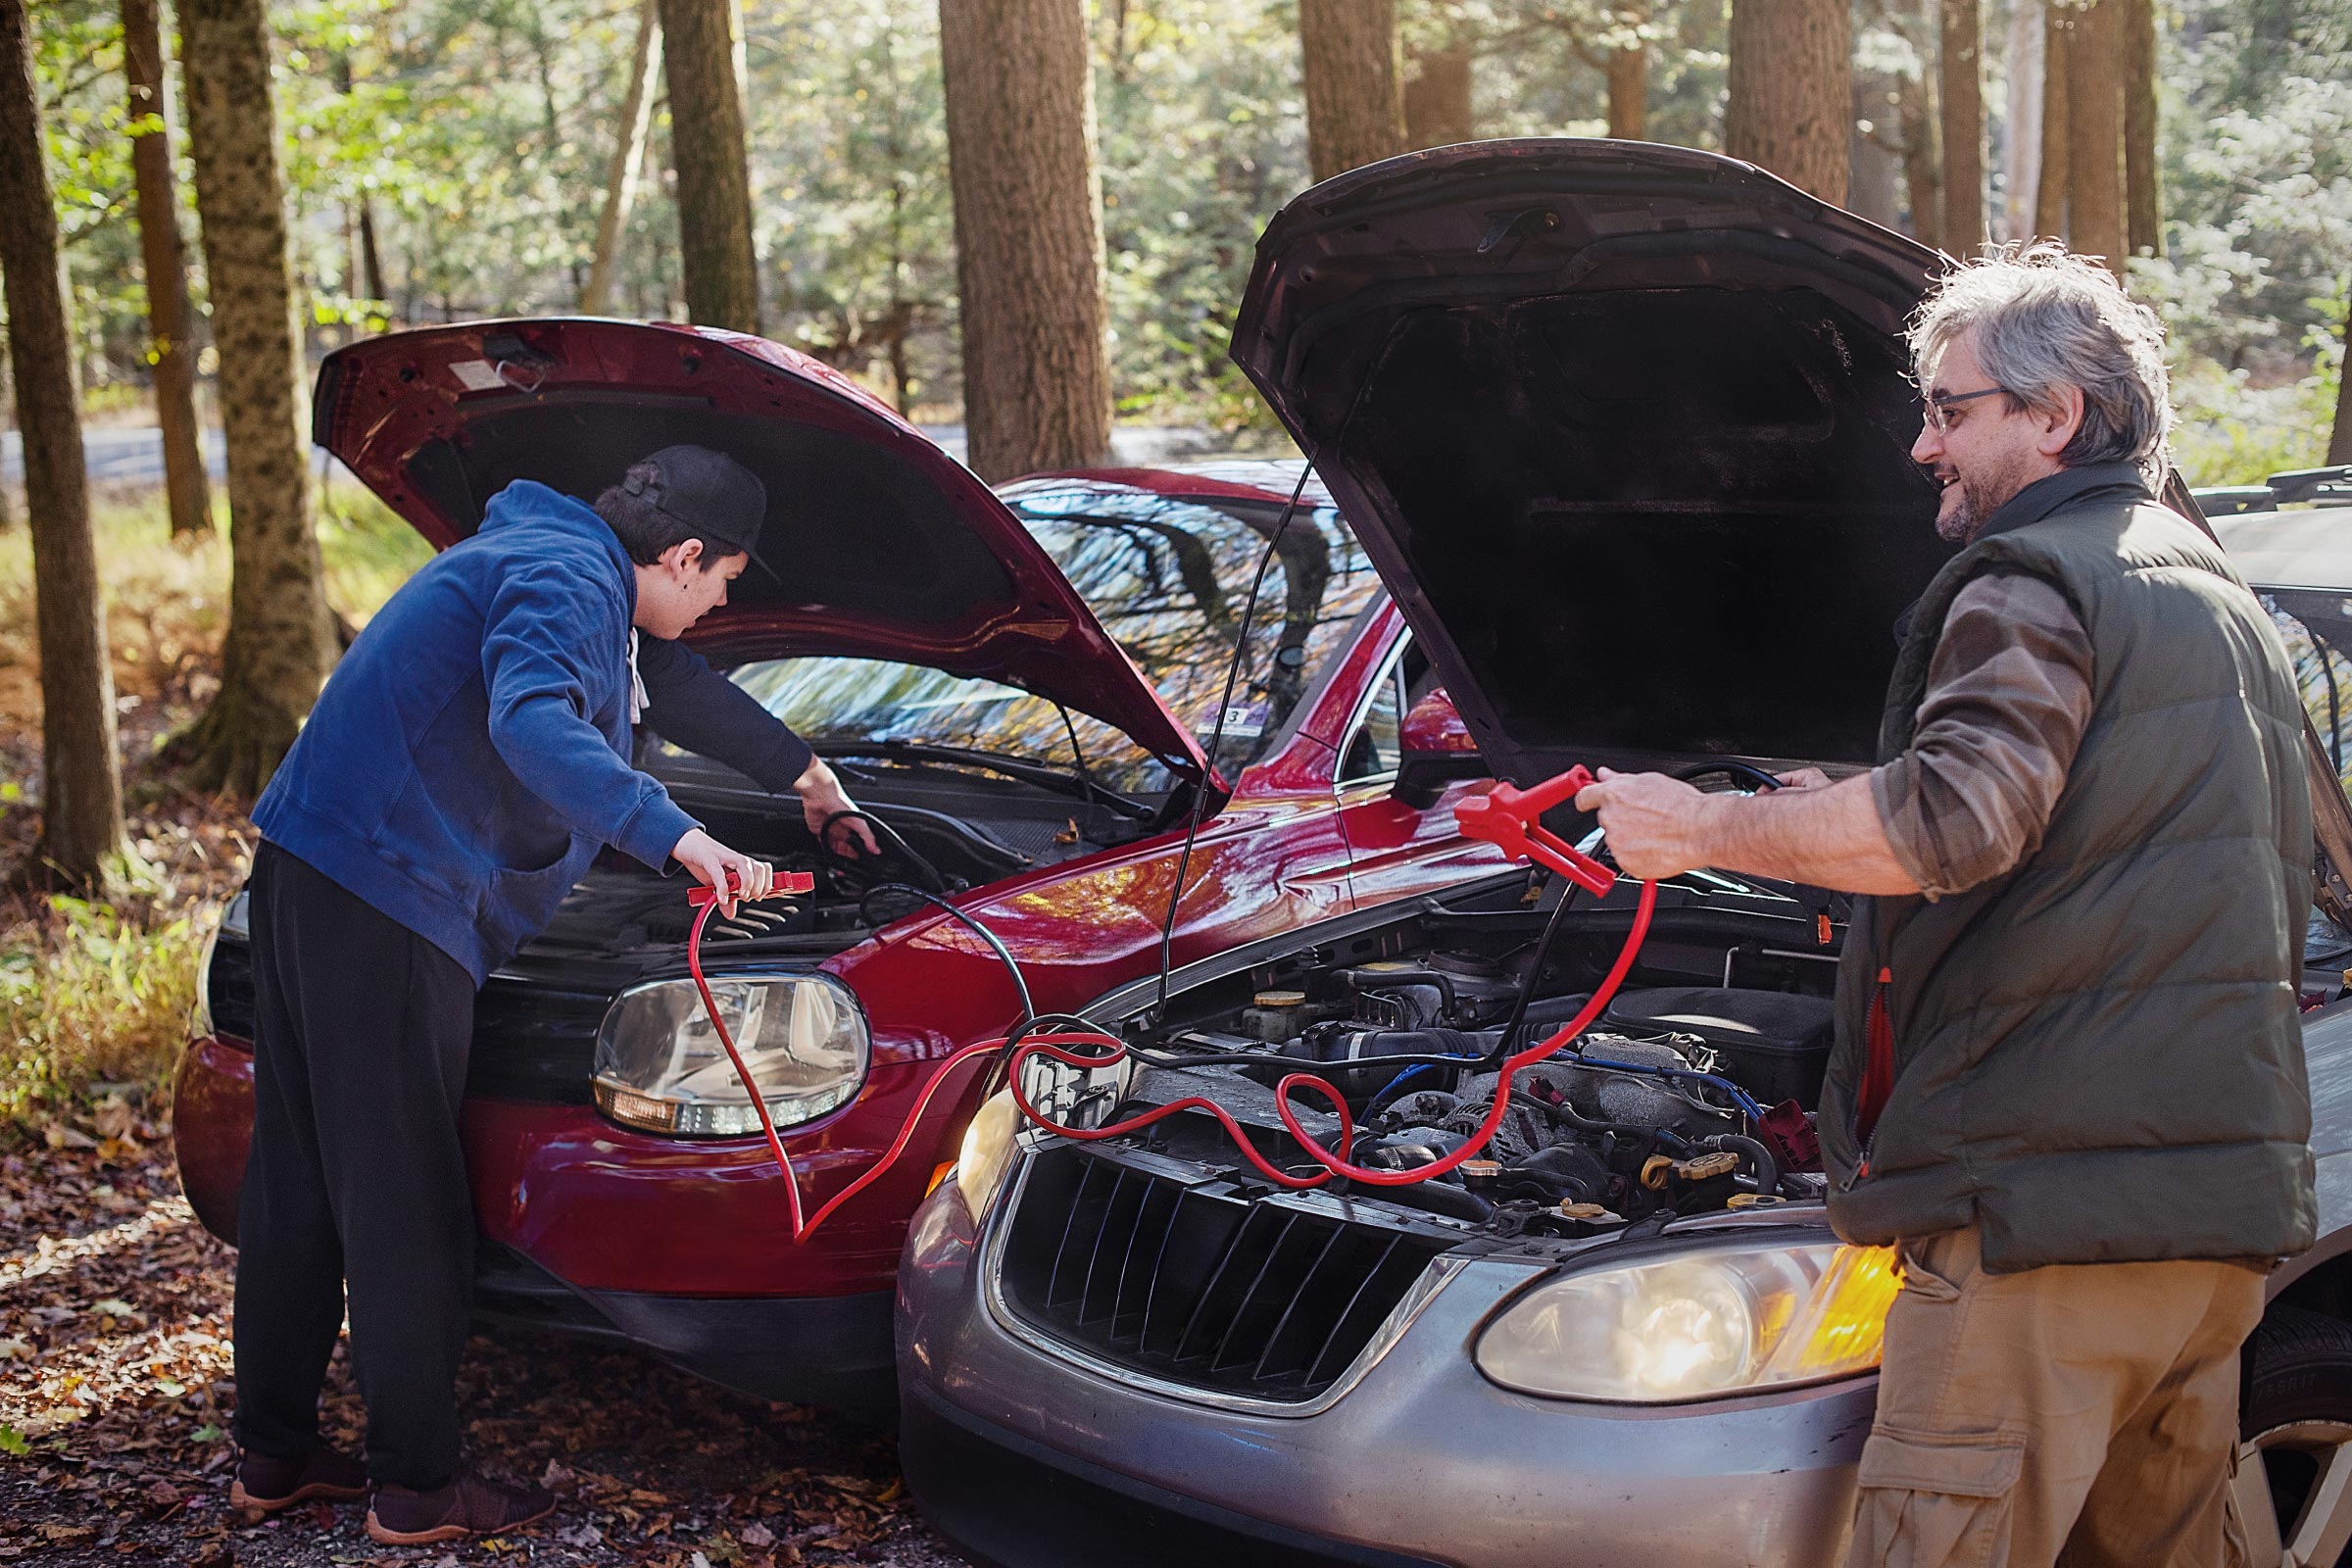
Step 1: Position The Vehicles
Park the two vehicles close enough for the jumper cables to reach each battery, but do not allow the cars to touch. Turn off both cars, including any lights, air conditioning, or other accessories.
Ensure both vehicles are in park (or neutral for manual transmissions) with the parking brake engaged.
Step 2: Connect The Jumper Cables
Now it’s time to connect the jumper cables. Follow this exact order to ensure safety and avoid sparks or damage to the batteries:
- Red Cable to Dead Battery: Attach one end of the red (positive) jumper cable to the positive terminal of the dead battery. The positive terminal is often marked with a plus sign (+) or the letters “POS.”
- Red Cable to Charged Battery: Attach the other end of the red cable to the positive terminal of the charged battery in the second vehicle.
- Black Cable to Charged Battery: Attach one end of the black (negative) jumper cable to the negative terminal of the charged battery. The negative terminal is usually marked with a minus sign (-) or the letters “NEG.”
- Black Cable to Unpainted Metal Surface on Dead Vehicle: Finally, attach the other end of the black cable to an unpainted metal surface on the car with the dead battery. This could be a metal bolt or part of the engine block. Do not attach it to the negative terminal of the dead battery. Doing so could cause sparks.
Step 3: Start The Working Vehicle
Start the vehicle with the charged battery and let it run for a few minutes. This will allow the battery to transfer some charge to the dead battery.
Step 4: Start The Dead Vehicle
Try to start the car with the dead battery. If it doesn’t start right away, wait another minute or two and try again. The battery may need more time to charge.
Step 5: Disconnect The Cables
Once the dead vehicle starts, carefully remove the jumper cables in the reverse order of how you connected them:
- Remove the black cable from the unpainted metal surface of the dead vehicle.
- Remove the black cable from the negative terminal of the charged battery.
- Remove the red cable from the positive terminal of the charged battery.
- Remove the red cable from the positive terminal of the dead battery.
Make sure the clamps do not touch each other while they are still connected to the batteries.
Step 6: Let The Car Run
Keep the engine of the jump-started vehicle running for at least 20 minutes to allow the alternator to charge the battery. If your car does not stay started after being jump-started, your battery may need to be replaced.
Safety Tips
- Always wear gloves and protective eyewear to avoid any potential battery acid splashes or sparks.
- Never touch the metal parts of the jumper cables while the other end is connected to the battery.
- If you feel uncomfortable or unsure about the process, call for professional assistance.
Jump-starting your car is a useful skill to have. By following these steps carefully, you can ensure a safe and effective jump-start every time.
If you find that your car battery repeatedly dies, it may be time to visit Witt NAPA for a battery replacement or other diagnostics.
You May Be Interested In:

DIY vs. Professional Auto Repair: When to Do It Yourself and When to Get Help
5 months ago by Witt NAPA

A Complete Guide to NAPA Auto Parts for DIY Car Repairs
7 months ago by Witt NAPA
NAPA Brakes Are Your Best Bet for Safe Stopping Power
9 months ago by Witt NAPA

Summer Car Care for RVs and Campers: Essential Maintenance Steps
11 months ago by Witt NAPA